In this tutorial, you will learn how to register as a Builder/Developer in the IRIS portal. According to Tax Laws (Amendment) Ordinance number 1 of 2020 dated 19-04-2020, FBR has designed a form for builder/developer registration. This form is solely made for and under the IRIS web application for a declaration of existing and new Builders and Developers. So this tutorial will guide you through all the procedure that is required for the registration of a builder/developer.
You can also enroll in our Income Tax Return Master Course 2022 by pressing the apply now button.

Registration Process for Builder/Developer
The following is the step by step guide for the declaration of builder/developer:
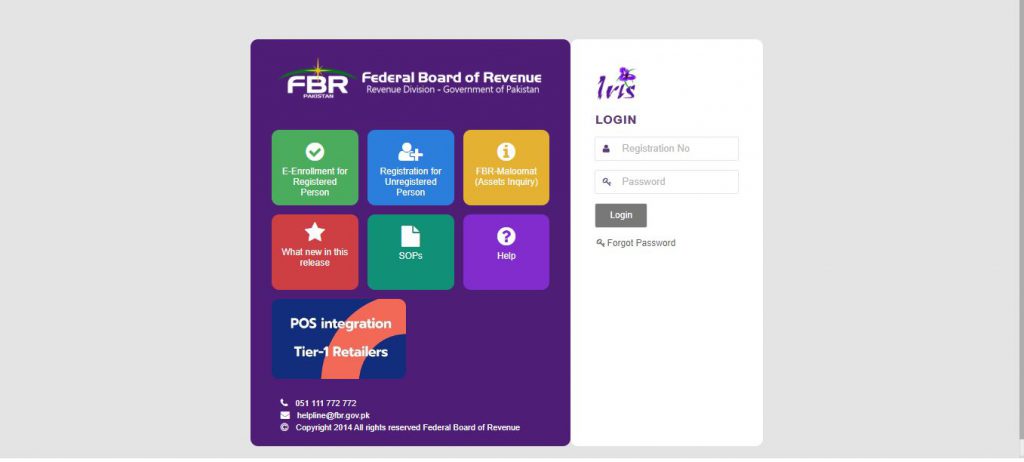
First, click on this link (https://iris.fbr.gov.pk/public/txplogin.xhtml) to open the IRIS portal.
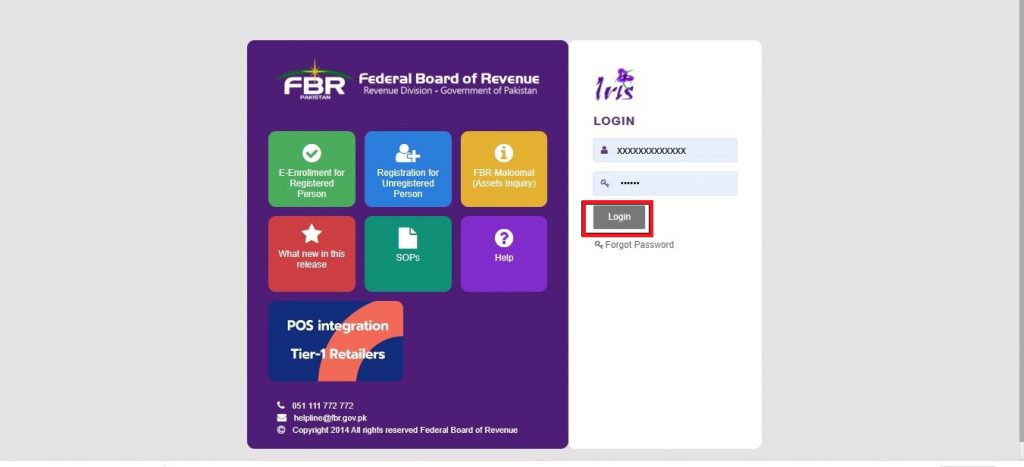
After that enter your Registration No. / CNIC / NICOP No. in the “Registration No.” field.
Enter your Password (as received on email while registration) in the provided field.
Click the Login button to gain access to the IRIS portal.
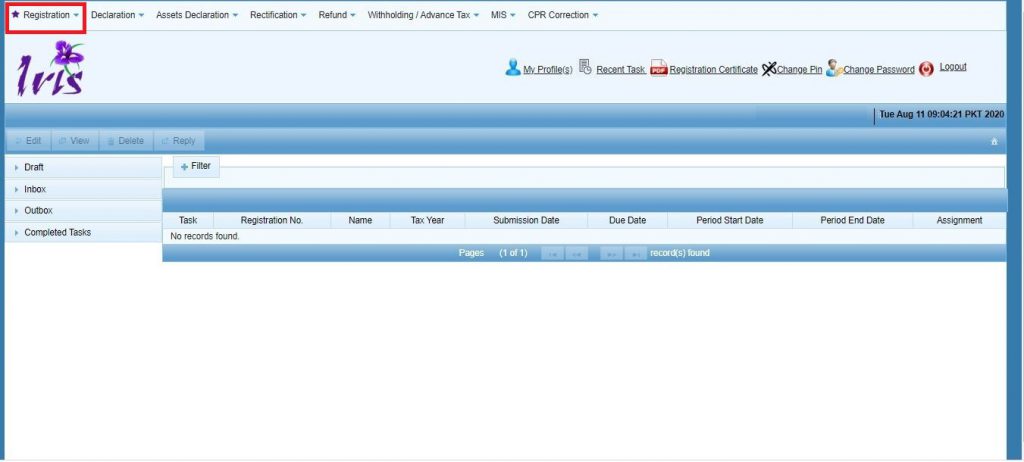
When you successfully log in, you will your dashboard. Now click on the Registration tab on the menu above.
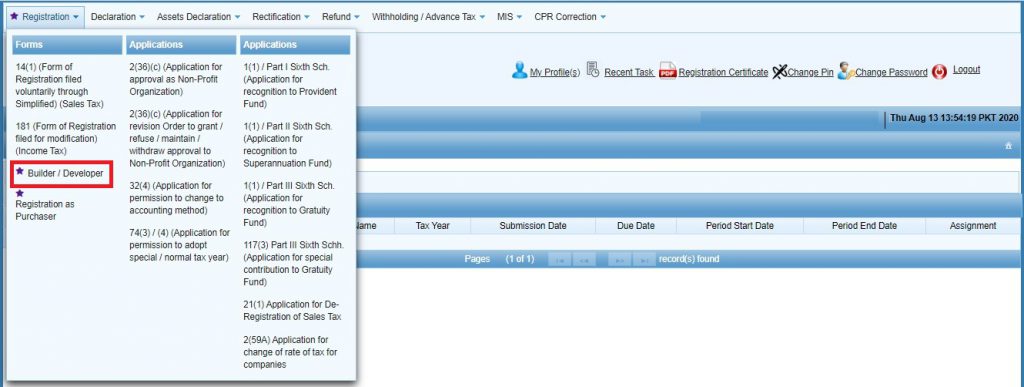
In the Registration tab, click on the Builder/developer form as shown in the image below:
After that system will redirect you to the Builder/Developer registration form. Here you will see that the property tab is already showing.
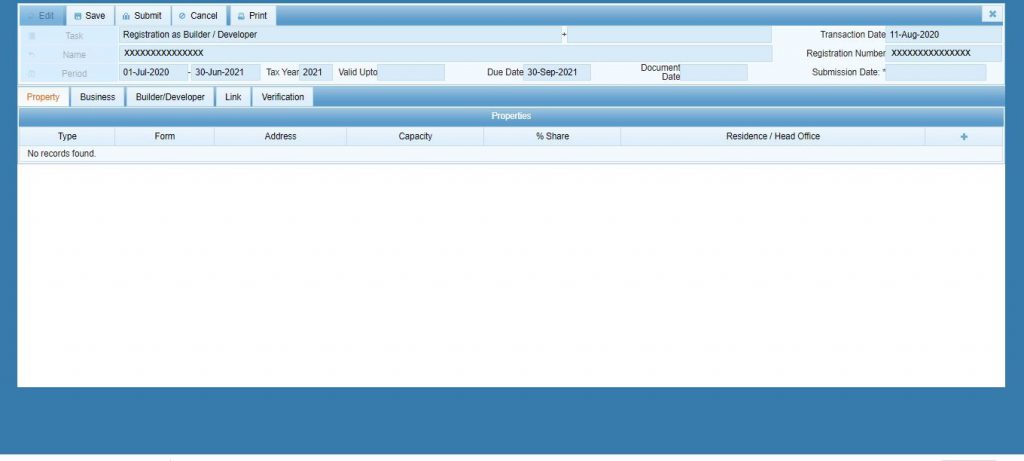
Now click on the “Builder/Developer” tab to proceed with the registration task, and will see that the following window will appear:
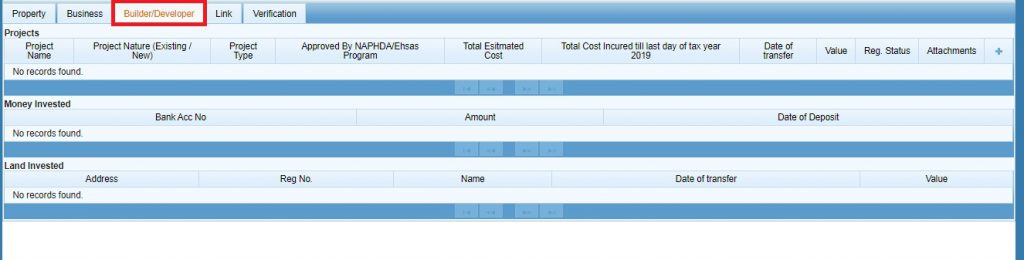
when the registration tab is opened, press the + button from the left-most corner under the projects head. The system will load the following form to add the project details:
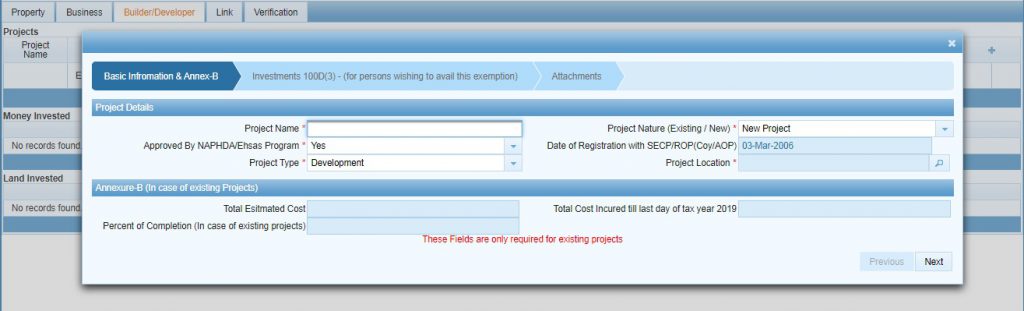
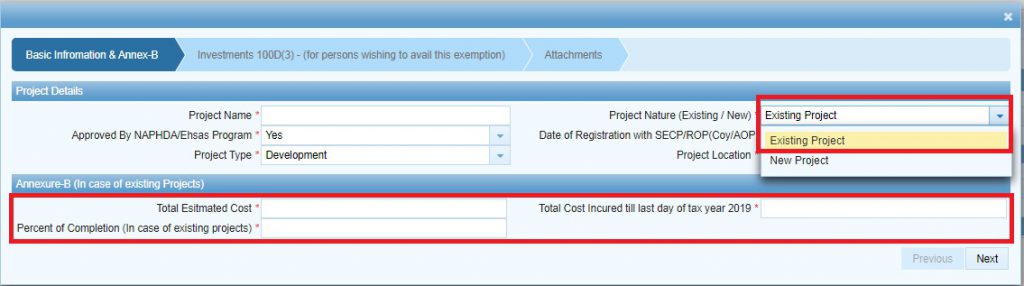
In this form enter your required data under the Basic information & Annexure-B section. The Annexure-B section/fields are mandatory for those taxpayers who have selected “existing” for the project nature filed like it as showing in the image below:
After adding project details, press the Next button. The system will redirect the taxpayer to the Investments tab as shown below:
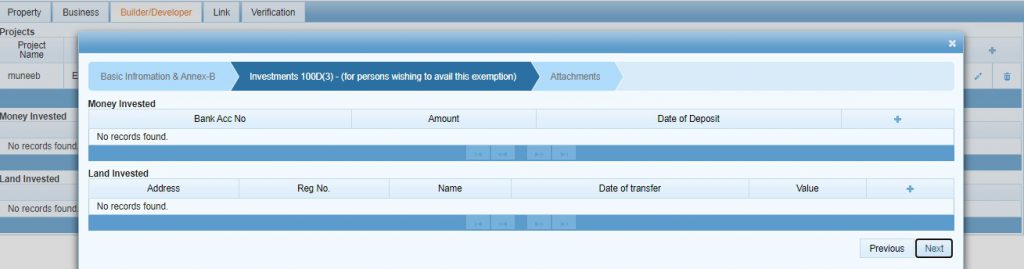
To add information about money invested, click on the + button under the Money Invested section. The system will load the window to add information about the money invested as shown below:
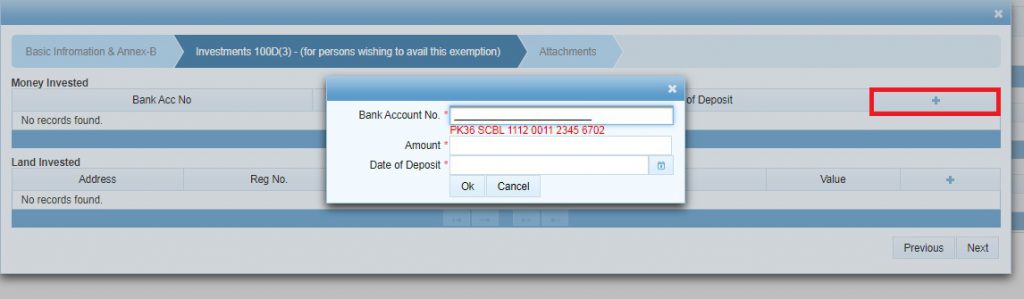
Here, please provide the required information and press the ok button to save the record.
Similarly, to add information for “Land Invested”, Click on the + button under the section titled Land Invested. The system will load the following window screen:
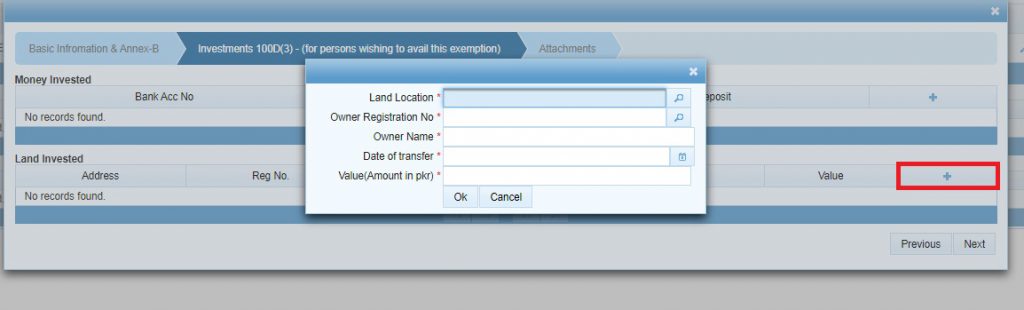
Here please provide the required information and press the Ok button to save information about land invested.
After that provide Money and Land Invested details, Click on the Next button to proceed forward. The system will load attachments window screen as shown below to attach required documents:
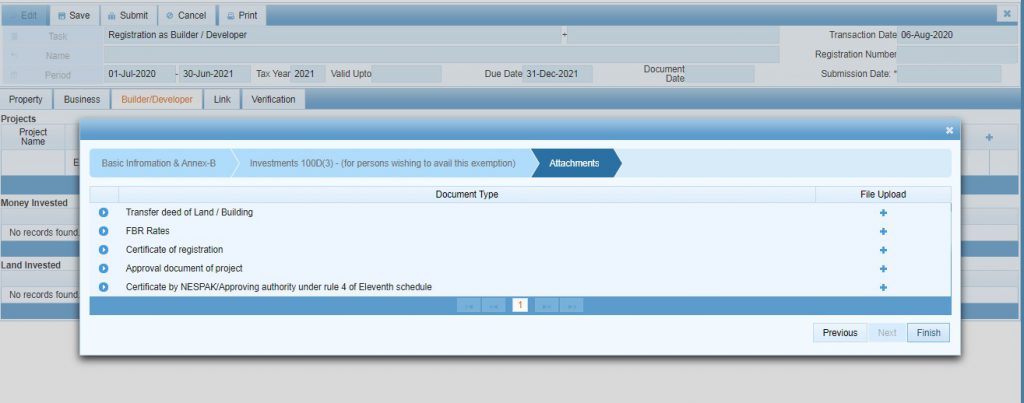
Now click on the + button to upload the Transfer deed of Land file, after that the following window screen will appear:
Here you should Attach the related file through the provided window and press Ok as shown below:

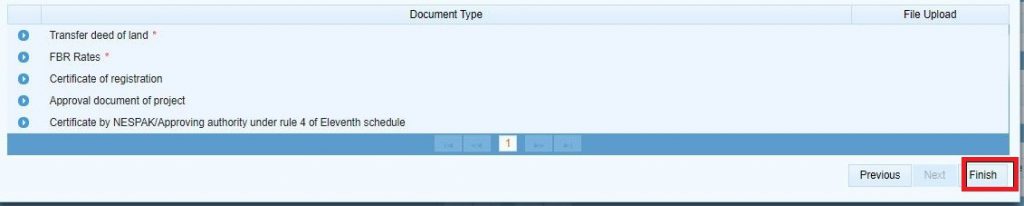
After that follow the same step to attach FBR Rates, Certificate of Registration, Approval document of project, and certificate by NESPAK.
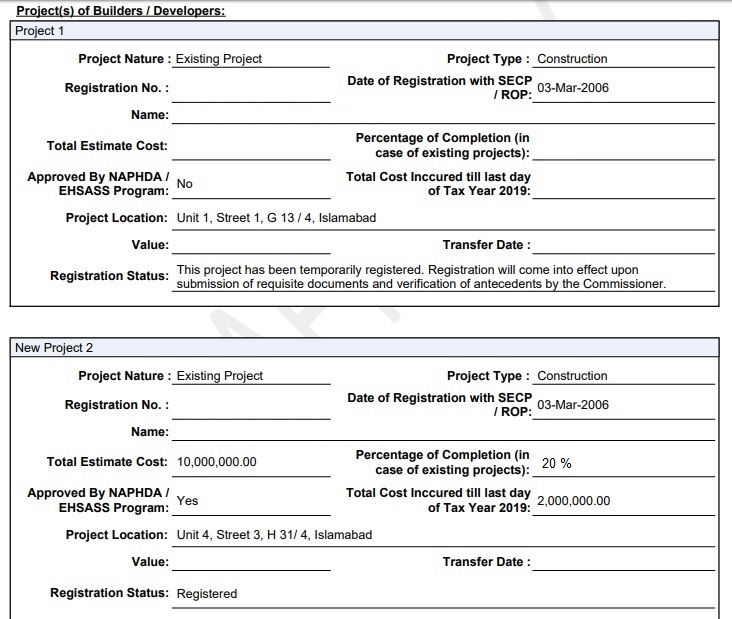
Must note that attachment for the Approval document of the project is optional at this stage but the project will be granted temporarily registered status until this document is uploaded. A complete registration will only come into effect upon submission of requisite documents and verification of antecedents by the commissioner.
After making all required attachments, click on the Finish button to save the record as shown below:
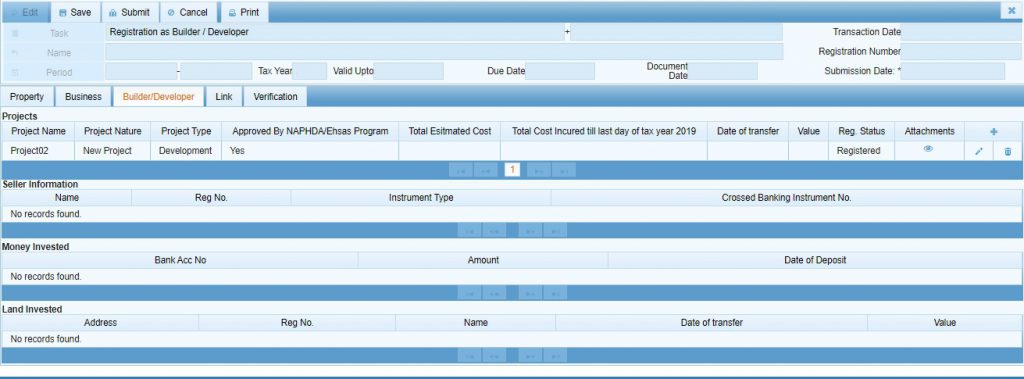
The system will display a saved record under the Builder/Developer tab.
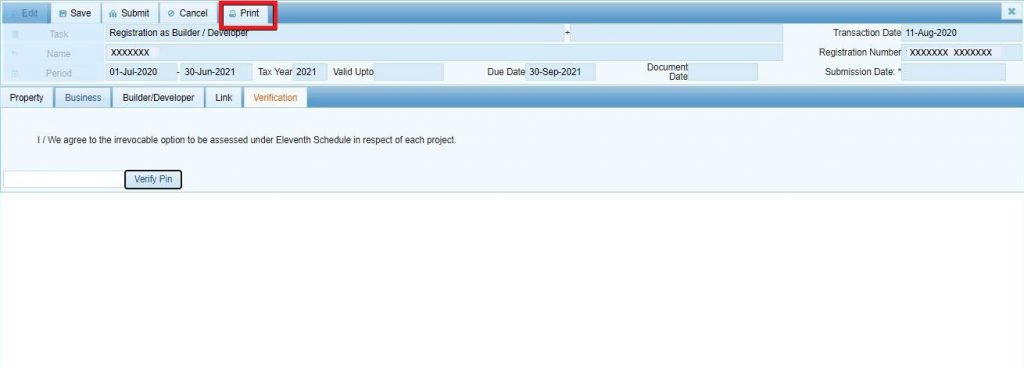
In the end, click on the Verification tab to verify the provided information, the application will load the following verification screen:
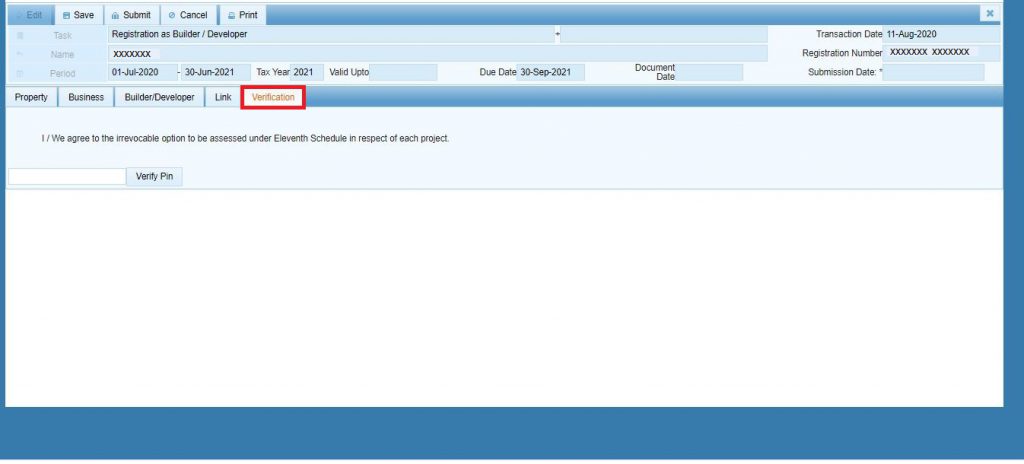
Enter the correct pin in the provided field and press the Verify Pin button as shown below:
Please note that without verification, taxpayers will not be able to submit the Registration as a Builder/Developer task.
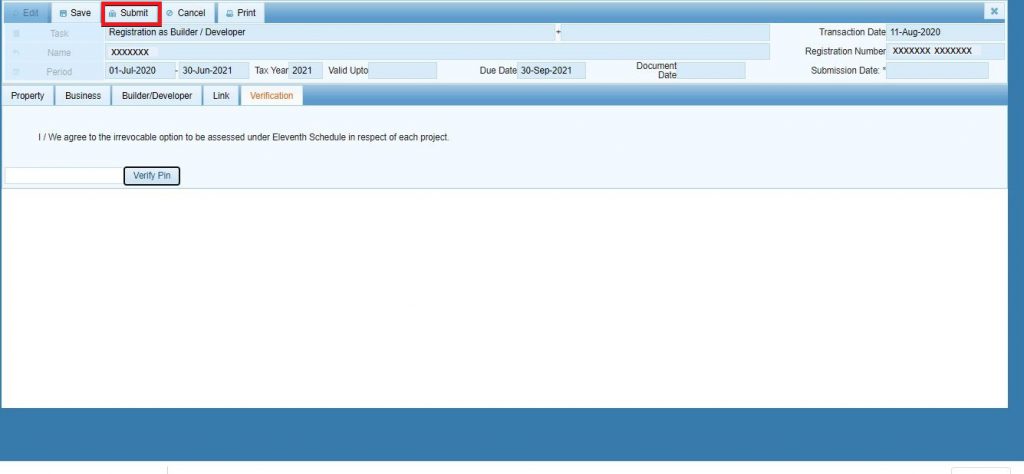
Click on the Save button as shown below to save the task as a draft for future editing.

After completion and verification, Click on the Submit button as shown below to submit the Registration as Builder/Developer task. Please note that once submitted, taxpayers may not be able to edit information in the provided task.
To get the print of the declaration, click on the Print button as shown below. The system will load the printable version of the provided information by the taxpayer where the registration status will be visible as well.
Conclusion
To conclude this tutorial, I can say that the registration process for Builders/developers for filling their declaration is made so easy by FBR. You must follow all the mentioned steps in this tutorial file properly.
You may also like these:
- How to File Application for Extension in Date for Filing of Income Tax Return
- How to File Application for Sales Tax Refund
- How to File Income Tax Return in 2020?
- Filer and Non-Filer Tax Rates in Pakistan – Benefits of Becoming Tax Filer
- Tax Law: Benefits of Becoming a Tax Lawyer in Pakistan

That is so easy to understand. thanks for this tutorial.
Very well explained, thank you